
![]() Ant XL is a tool included in Ant Text Classic ERP & Bulk Email which you can use to send news and/or event emails to your clients, from your own email address. This is also known as sending bulk emails or campaigns.
Ant XL is a tool included in Ant Text Classic ERP & Bulk Email which you can use to send news and/or event emails to your clients, from your own email address. This is also known as sending bulk emails or campaigns.
With Ant XL you can send personalized emails to your clients, based on data in a Microsoft Excel spreadsheet, from your own email account.
This guide assumes that you have mastered the art of creating your own Ant Text Classic templates in Word.
You will need to have a Microsoft Excel sheet (*.xlsx) which contains the email addresses that you wish to send to. It also contains additional data that you might want to include in your personalized emails. You can, for example, export data from your CRM, ERP, HR, LinkedIn, Facebook, Visma e-conomic etc. with your right target group.
In the demo example below, we have placed the target email addresses in column D and the contact names in column C.
Save this worksheet Demoexample.xlsx somewhere on your device, where you can find it again.
Only support@anttext.com is a legit email in the demo example.

Now you are ready for the next step, creating your bulk email that you wish to send to all the email addresses in your Microsoft Excel sheet.
Create an Ant Text Classic Template in word where you insert the right Excel merge fields on the right places. Note that the text in the template as: “[#EXCEL-COL:C#]“, is an Excel merge field, which will be inserted into your email, from your Microsoft Excel data sheet (replaces the letter “C” with the column containing the contact names). You can use unlimited Excel merge fields.

The merge field “[#SUBJECT#]” means that the text within this tag will be set in your emails subject, and not be displayed in your emails body text.
Please note that you also can use the merge fields from your Excel sheet in between “[#SUBJECT#]” and “[#/SUBJECT#]“.
Make sure the setup for integration to Excel is enabled. Follow the guide below.
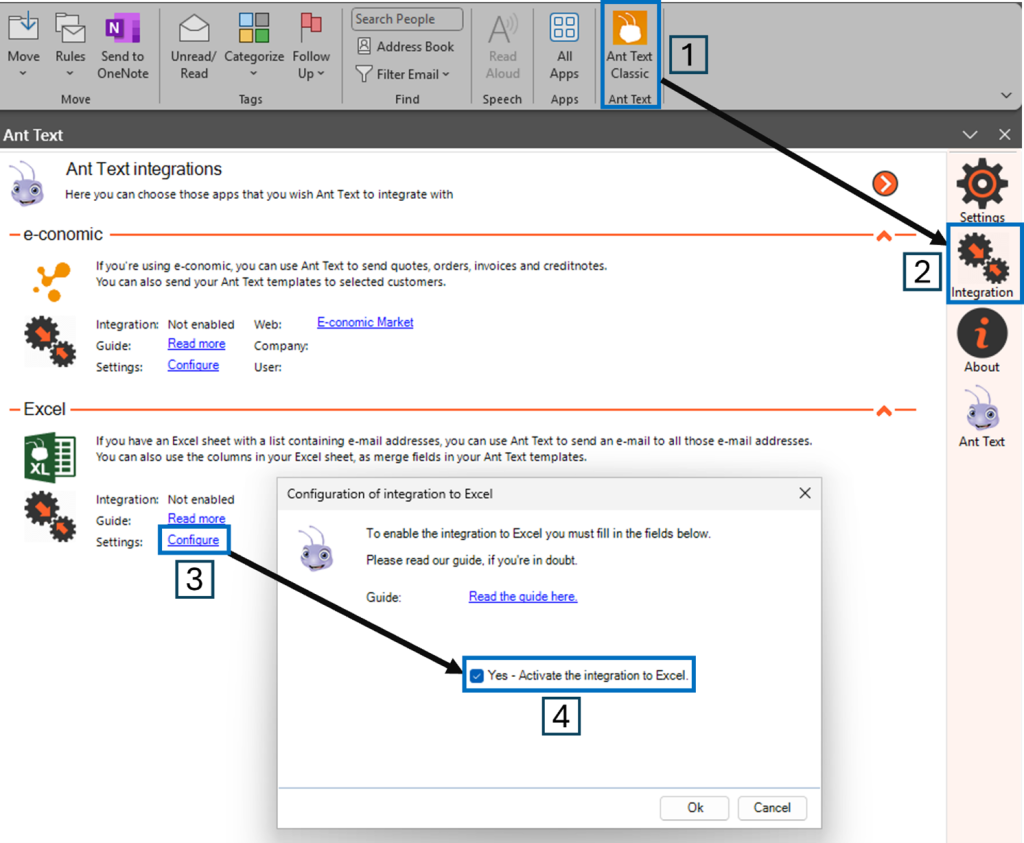
Click Ok and you will now receive an Excel icon as the first choice in your menu to the right.
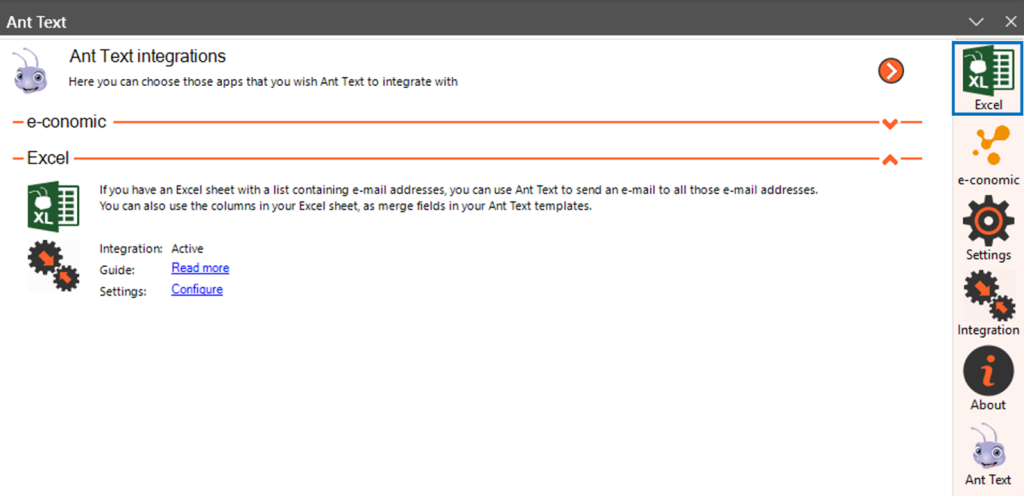
Click on the Excel icon and insert your data to send out your Ant XL.
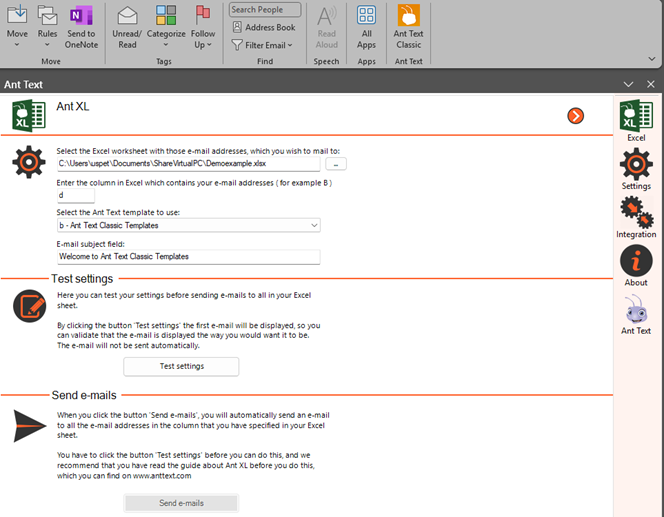
Now you can click the button “Test settings“, which will display an email to the first recipient in your Excel sheet, but it will not automatically be sent.
If the email does not look like you want it to look, you just choose No and close this email. Correct those things, that you wish to change. Then click “Test settings” again.
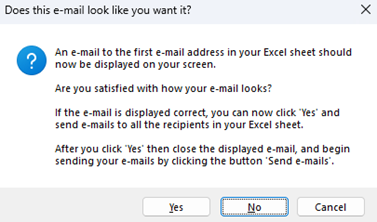
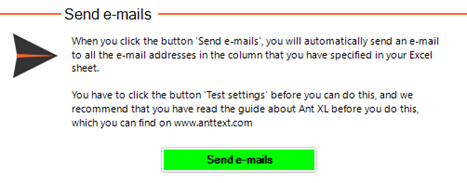
If you are satisfied, then click Yes and the “Send emails” button will become green. Just click the button and your email will be sent to all the email addresses in your Excel sheet.
All emails will be created in your outbox and sent out continuously until you receive a message “All emails has now been sent”.
Click Ok and continue working with your Outlook Classic.