
Second, Click here to go to “Ant Text Email Templates” page on Microsoft AppSource.
Alternatively, go to AppSource.microsoft.com and search for “Ant Text” or “Templates” in the search bar.
Next, choose “Ant Text” and click on the “Get it now” button.

Keep reading and follow the installation guide.
First, give Microsoft permissions and click “Continue”.
Note! The text in the box is related to Microsoft privacy policy, and we, as provider, do not have any access to create, update or access your emails. The only thing we have access to is connecting your email account with Ant Text add-in.
After the installation is done, go to Microsoft Outlook Online and create a new email. Further, underneath the email an “Ant Text” logo should have appeared. Then, click on the logo to launch “Ant Text“.
If the “Ant Text” logo has not appeared, follow these steps:
 Settings at the top right corner and choose “View all Outlook setting“.
There are two ways to install “Ant Text” for Microsoft Windows.
In Microsoft Outlook, click on the icon in the ribbon named “Get Add-ins” ![]()
Then, search for “Ant Text” in the search bar and click on “Add“.
Once Ant Text is added, a new icon ![]() will appear in your top ribbon.
will appear in your top ribbon.
Next, click Ant Text in the ribbon and log in with your Microsoft 365 email account.
In the Desktop version of Microsoft Outlook, select the menu “File”, and click the icon “Manage Add-ins”. ![]()
A new window will open, and from here, click the ![]() “plus” icon, and select the menu “Add from a URL”.
“plus” icon, and select the menu “Add from a URL”.
Now a pane will slide in from the right, and in the “URL” field enter: “https://owa.anttext.com/manifest.xml” (without the quotation marks) and click “Next”. You will then get to the next page in the installation process, which asks you to confirm that you wish to install Ant Text. Click “Install”, and then “OK” in the resulting final step.
Now “Ant Text” should be in the list of your Add-ins. Furthermore, make sure that “Ant Text” is “Turned on”, and you should be ready to use Ant Text.
There are a few settings in Ant Text, which might be worth knowing about.
You can see those if you select “Settings” from the “Ant Text” menu, and then again, the “Settings” menu item.
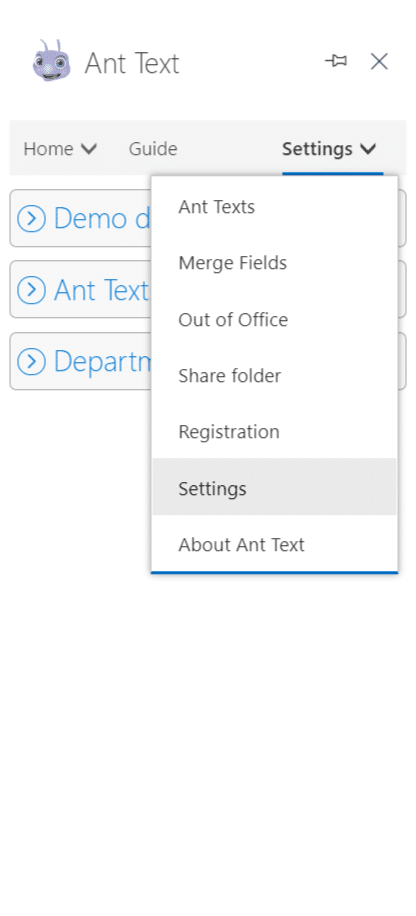
In the main settings you can toggle whether to show or hide “Ant Text demo data” and the “Ant Text Guide”.
If you are new to “Ant Text” we recommend that you leave both settings set to “Yes”. However when you are familiar with how Ant Text works, you can set them to “No”. You can off course always turn both settings back on if you need to.
Hiding “Ant Text demo data”, will remove the “Demo data” button from your “Home” menu. This is especially useful if you only have your own, or one shared Ant Text template folder. Your “Home” menu then will start directly in the root of that folder.
Setting “Show Ant Text Guide” to “No”, will remove the “Guide” menu. Furthermore it will remove some of the explanatory texts on the different pages. This is highly recommended once you know how Ant Text works, as it will free up space. As a result, it will let you focus on what to do.

To be able to create your own Ant Text templates, you need to give Ant Text consent. Moreover, this will also give you the permission to share your folders with others. By giving consent, you are providing Ant Text with the permissions needed by Ant Text.
In order to do this, click the button “Login to Microsoft 365”, and then give your consent.