
Whenever you write, reply, or forward an email, click the ANT TEXT tab in Outlook. Your personal Ant Text toolbar lives here.
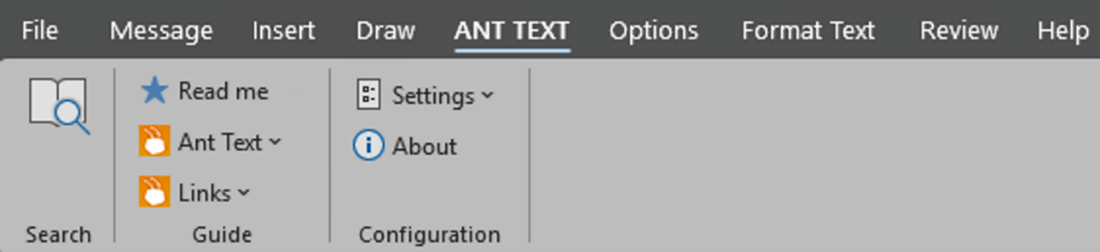
The toolbar has three standard sections:
From the section Guide Ant Text ▶ Get started (you can always reopen these help articles).

 Downloads. You will see two folders: copy this to a location you choose We will use it in step 3 Configuration Settings License key
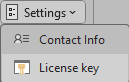


Grey ant icons (for example in 4. HR Empty) means the folder has no templates yet.
Quick way (copy & paste)
Manual way
AT structure

Click any orange ant icon, pick a template from the drop-down. Following will be inserted to your email:
Read more about Attached files 🔗
Because Ant Text uses familiar tools (Microsoft Word and File Explorer). If you can edit a Word document, you can create an Ant Text template.
Note first time you insert a template without a license you must fill in your contact info:
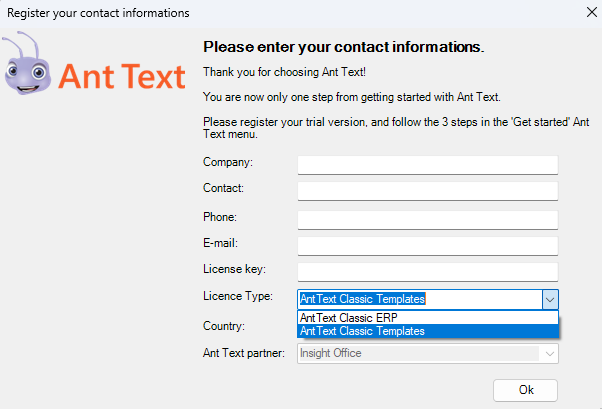
We have two license types to choose from: